Create Price Check
Our Rapid, Streamlined Solution for Speed and Affordability.
This is your step-by-step guide on how to create a Price Check:
- Navigate to Pricing Studies: From the left-hand menu, select "Pricing studies."
- Select "Price check" study type
- Define your study
- You can define your study by entering a URL:
- Or, enter Details manually:
- Survey Name: Enter a clear name for your study. This name will serve as the heading and will be used to locate your study.
- Product Description: Describe the product you are selling, using a generic name.
- We recommend beginning the description with a lowercase letter unless using a proper brand name.
- Use the generic name using articles a/an or in plural.
- For example, "running shoes" or "a leather bag."
- Product Uniqueness: Detail what makes your product unique. Providing more detail here allows the AI to generate a more accurate and compelling introduction to the study.
- Intended Price: Enter the price you intend to set or your current price. This value will be used as a reference point in the final results and analysis.
- Product Quantity (Optional): This field is only relevant if you need respondents to be aware of the exact quantity included with the product.
- Study audience: Select if you intend to use the Priceagent market panel, or contact your own audience. Note: For Free trial accounts, only own panel is available.
For studies using Priceagent Market Panel
Using your own panel? Jump down ⬇️
- Define target audience: Specify the geographic region you want to target and the language for the survey
- Generate the Survey: Click "AI Generate survey".
- Note: If you receive a ❗️ on the "Preview" button, it indicates an issue that requires attention before proceeding.
- Review Survey: review the generated survey. The introduction is the only section that is editable. All other questions are non-editable to ensure data consistency. The questions generated have been carefully been selected and reviewed by Priceagent experts to generate the best possible outcome.
- Launch the survey: Click "Launch survey"
- Note: if launch is not possible, ensure you have enough credits on your account.
- Data Collection: Sit back and relax while we collect insights and generate an analysis.
- Analyze Your Results: The results are in – now it's time for you to do your analysis and make a pricing decision. Read more about your results and how to make the best possible decisions in the next articles.
For studies using own audience
- Redirect links (optional): Redirect links are used when you purchase panel from another supplier or need another system to track who completed the survey. If you leave them blank a standard end page will be shown to the respondent
- Define target audience:
- Region and language: Specify the geographic region you want to target and the language for the survey
- Amount of Respondents: Input the number of respondents needed. This is how the system knows when to mark the study as complete. We suggest a minimum of 100 respondents for a robust data set and statistically significant results.
- Generate the Survey: Click "AI Generate survey".
- Review Survey: review the generated survey. The introduction is the only section that is editable. All other questions are non-editable to ensure data consistency. The questions generated have been carefully been selected and reviewed by Priceagent experts to generate the best possible outcome.
- Launch the survey: Click "Launch survey"
- Note: if launch is not possible, ensure you have enough credits on your account.
- Distribute the Survey Link: Start sending out your survey using the provided link to your target audience.
- Data Collection: Sit back and relax while results are being collected and analysis generated.
- Analyze Your Results: The results are in – now it's time for you to do your analysis and make a pricing decision. – now it's time for you to do your analysis and make a pricing decision. Read more about your results and how to make the best possible decisions in the next articles.
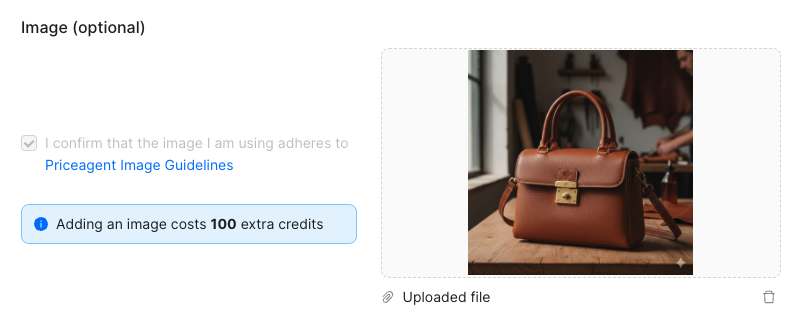
Image in Price Check Studies
You can add an image in your Price Check studies. Simply accept the Image Guidelines, and upload the file. By showing exactly what the customer sees, you can improve the mindset of the customer and get price walls and plateaus related to your exact product.
Currently, you need a log in to access the image guidelines, contact support to recieve the credentials.
Note that
- the file must be of type .JPEG, .GIF or .PNG, and maximum 2MB.
- adding an image costs 100 extra credits.
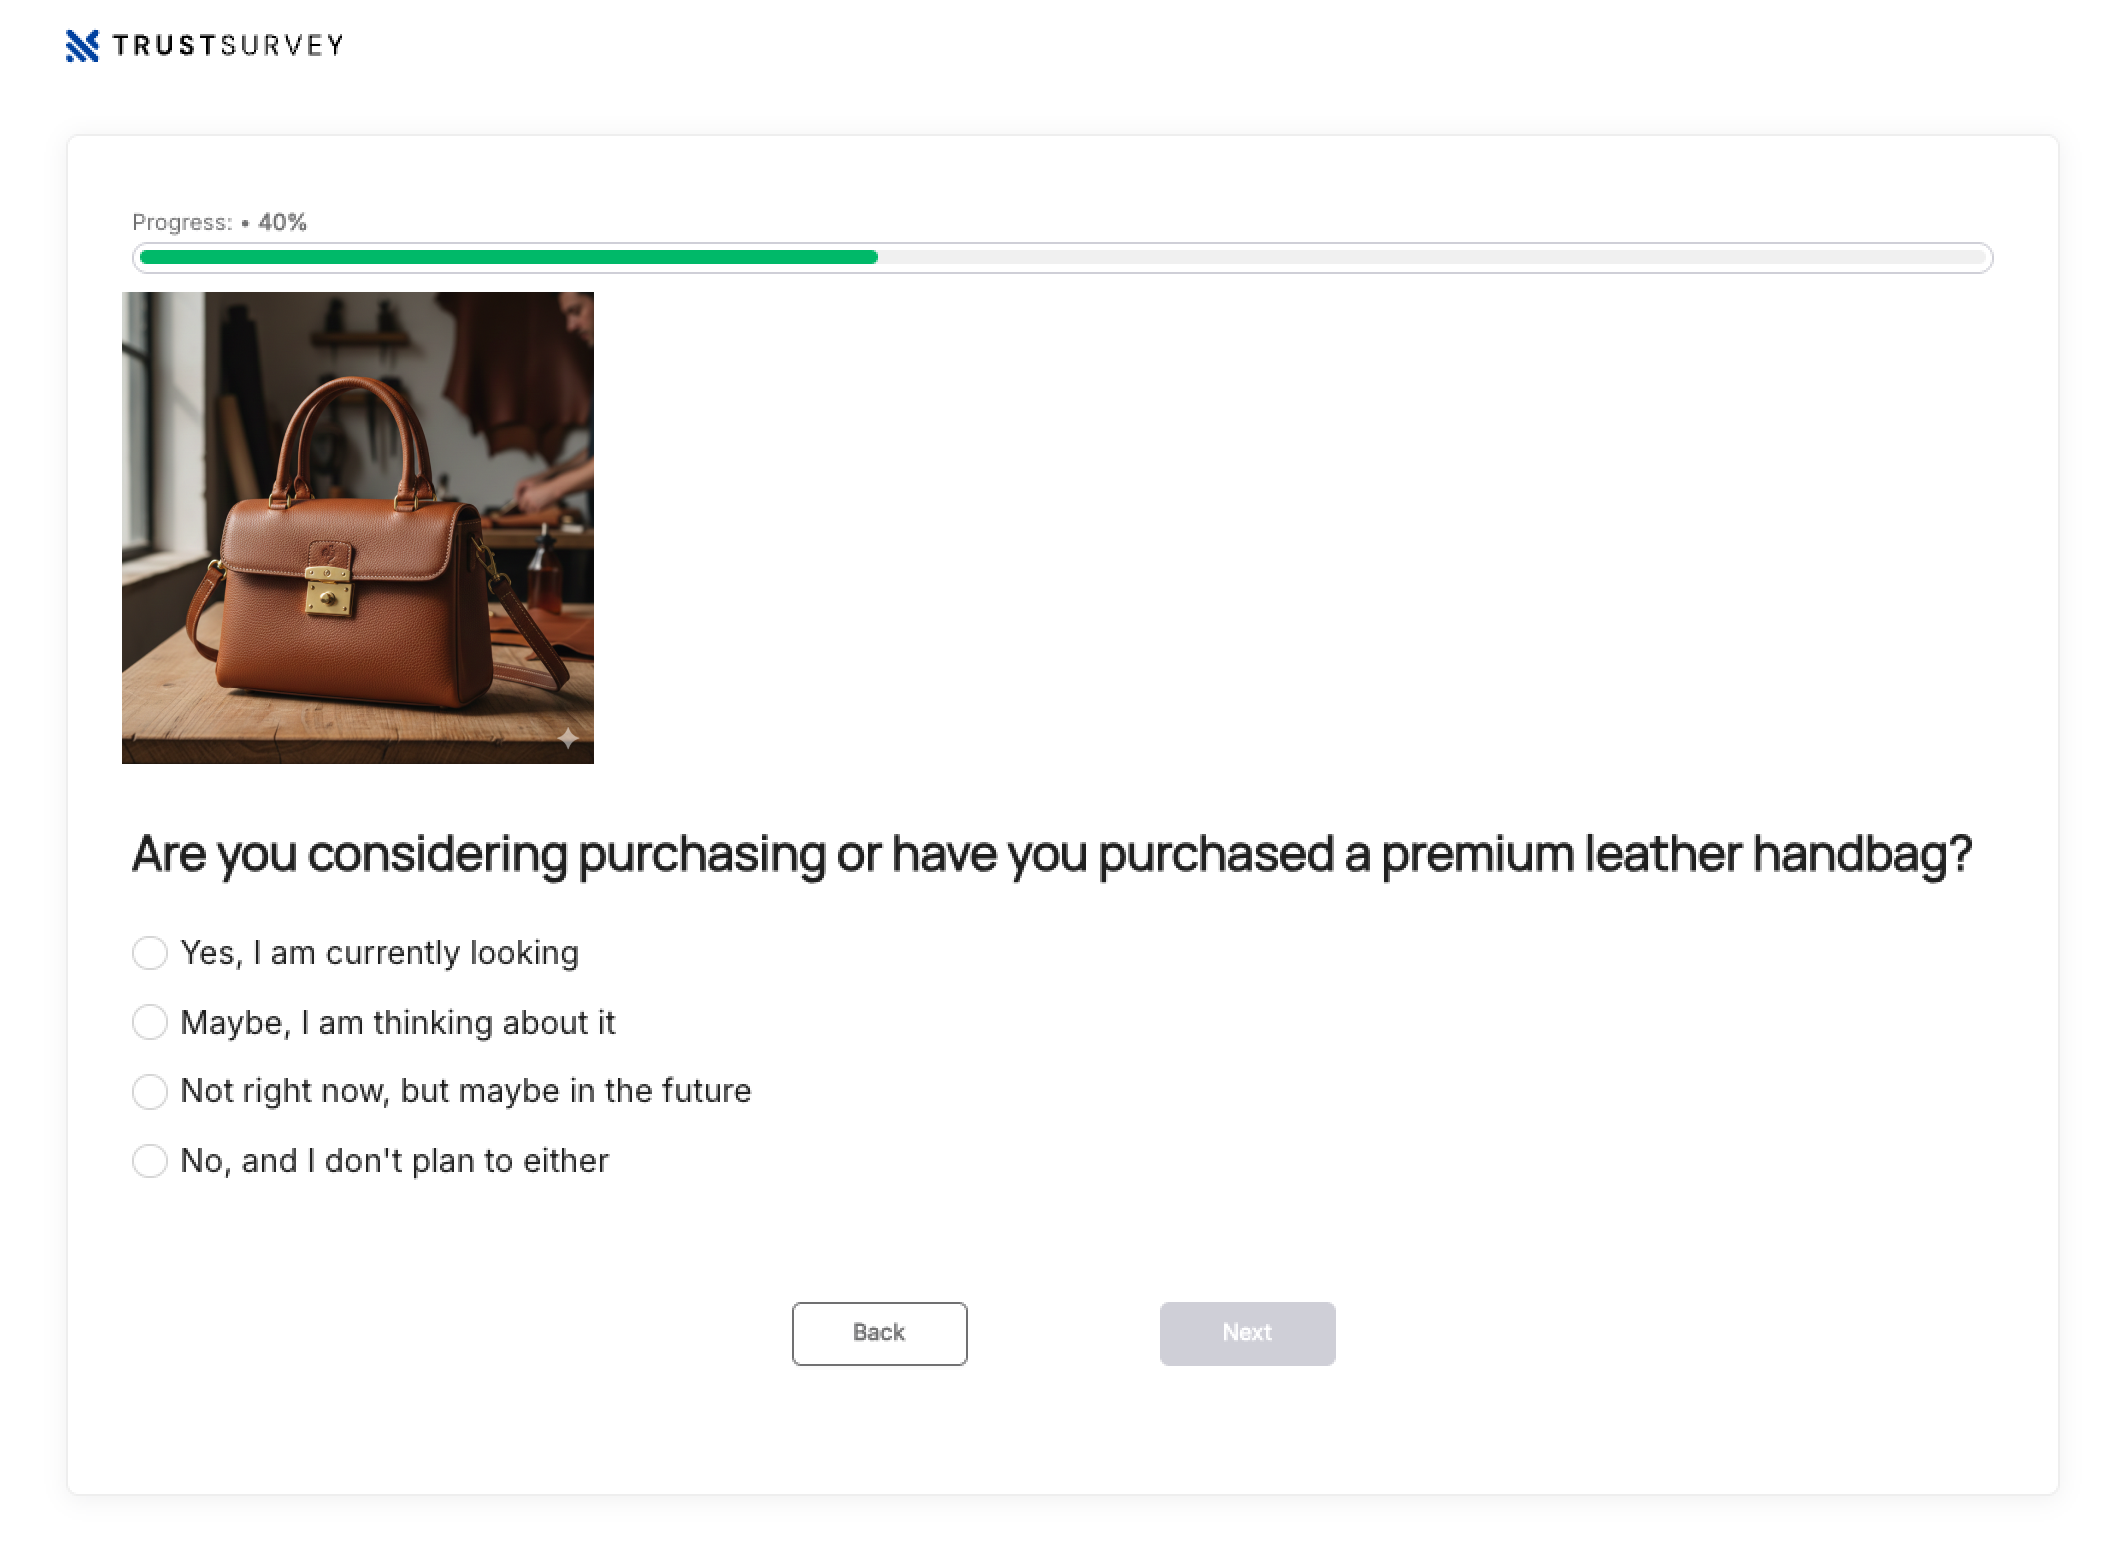
How it will look in your survey: